Introduction
If you’ve spent any time working in Building Information Modeling (BIM), you’ve probably heard the term “LOD” in project briefs, BIM execution plans, and coordination meetings. However, what does it actually mean, and why does it matter so much?
LOD stands for Level of Development. In simple terms, it helps every team member understand how much information a model element contains and, more importantly, how reliable that information is.
Without this clarity, confusion quickly appears. For instance, a structural engineer might expect LOD 350 geometry, while the architect delivers LOD 200. As a result, coordination meetings often turn into problem-solving sessions.
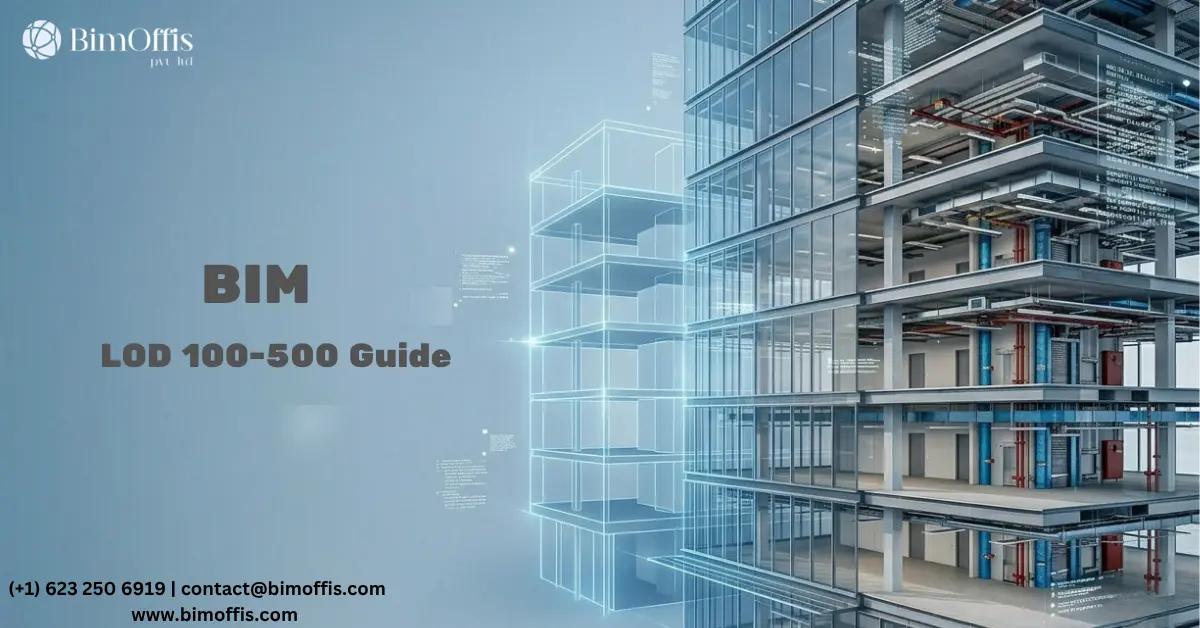
So, in this guide, we’ll walk through each BIM LOD level from 100 to 500, along with practical examples and when to use them.
What Is LOD in BIM and Why It Matters
Before going further, it’s important to clear up a common misconception: LOD means Level of Development, not Level of Detail.
Level of Detail focuses only on geometry. In contrast, Level of Development includes both geometry and non-geometric data, along with how reliable that data is.
Because of this difference, teams can clearly understand what a model represents at each stage. The concept was developed by the American Institute of Architects (AIA) and later refined through the BIM Forum LOD Specification.
Overall, six levels are recognized: LOD 100, 200, 300, 350, 400, and 500.
LOD 100 Conceptual Design
At the beginning of a project, LOD 100 represents ideas rather than actual components. Instead of detailed elements, the model uses simple massing or symbolic geometry.
For instance, an architect may create a basic box to represent a building’s height, footprint, and area. Even at this early stage, the model still supports initial analysis.
As a result, consultants can run solar studies or rough energy calculations.
What it includes:
- Overall building volume
- Site orientation
- Approximate area
Best used for:
- Feasibility studies
- Early environmental analysis
What to avoid:
However, avoid using LOD 100 for precise cost estimation, since the data remains too approximate.
LOD 200 Schematic Design
As the design develops, LOD 200 introduces recognizable building elements. Walls, floors, and columns appear, although they remain generic and approximate.
At this point, spatial planning becomes clearer. Room layouts, structural grids, and circulation paths begin to take shape.
A structural engineer, for example, may place columns at approximate grid locations. Meanwhile, estimators can begin preparing early cost projections.
What it includes:
- Generic components
- Approximate sizes and locations
- Basic material categories
Best used for:
- Design discussions
- Early coordination
- Rough cost estimation
What to avoid:
On the other hand, avoid using this level for contractor bidding, as accuracy is still limited.
LOD 300 Construction Documents
At LOD 300, the model becomes accurate and dependable. Elements now include exact dimensions, locations, and defined materials.
Teams can generate construction drawings directly from it. Clash detection also becomes far more effective at this stage.
Software, for example, can identify conflicts between ducts and structural elements before construction begins.
What it includes:
- Accurate geometry
- Defined materials and assemblies
Best used for:
- Construction documents
- Clash detection
- Code compliance
What to avoid:
Even so, fabrication-level detail is not included yet.
LOD 350 Coordination Level
Building on LOD 300, LOD 350 introduces connection and interface details between systems.
In particular, it includes supports, hangers, clearances, and penetration points. These elements play a critical role in coordination.
Because of this, teams can detect issues that would otherwise remain hidden. Therefore, this level becomes especially important on complex projects such as hospitals or data centers.
What it includes:
- System interfaces and connections
- Supports and clearance requirements
Best used for:
- Multi-trade coordination
- Prefabrication planning
What to avoid:
However, full fabrication data is still not included.
LOD 400 Fabrication and Assembly
At this stage, the model supports fabrication and installation. Contractors can generate shop drawings directly from it.
Steel fabricators, for instance, can produce components without manual drafting. As a result, the overall process becomes faster and more accurate.
What it includes:
- Manufacturer-specific data
- Fabrication details
- Installation information
Best used for:
- Prefabrication
- Manufacturing workflows
What to avoid:
Still, minor adjustments may occur during construction.
LOD 500 As-Built Model
Understanding the Final Model
In the final stage, LOD 500 represents what has actually been built, not just what was designed. To achieve this level, teams must verify the model using site measurements or laser scanning.
This verification step ensures the model reflects real site conditions. Without it, even a detailed model may contain inaccuracies.
Practical Value in Operations
Once verification is complete, the model becomes highly valuable for operations. Facility managers can access maintenance schedules, warranties, and equipment data directly.
In addition, future renovations become easier because accurate information is already available. As a result, teams can avoid unnecessary rework and confusion.
What it includes:
- Verified geometry
- Final product data
- Maintenance and warranty records
Best used for:
- Facilities management
- Digital twin systems
What to avoid:
Most importantly, never label a model as LOD 500 without proper verification.
Final Thoughts
Overall, the LOD framework helps teams stay aligned throughout a project.
When used correctly, it reduces confusion, improves coordination, and ensures reliable data at every stage. Therefore, define LOD clearly in your BIM Execution Plan and follow industry standards.
Just as importantly, verify the final model before handover so future users can rely on it.
Ready to find out what your project will cost? Find out here.
Frequently Asked Questions from Clients
What does LOD mean in BIM?
LOD stands for Level of Development. It tells you how much information a BIM model contains and how reliable that information is at each stage of a project.
Is LOD the same as Level of Detail?
No. Level of Detail is only about geometry. Level of Development includes both geometry and data and tells you how much you can actually trust that information.
How many LOD levels are there?
There are 6 LOD levels : LOD 100, 200, 300, 350, 400, and 500. Each one represents a different stage of project development.
Which LOD level is used for construction drawings?
LOD 300 is used for construction drawings. At this level, elements have exact dimensions, real materials, and accurate locations.
What is LOD 500?
LOD 500 is the as-built model, the final record of what was actually built on site, verified through field checks or laser scanning.
What is the difference between LOD 300 and LOD 350?
LOD 300 shows exact geometry. LOD 350 adds connection details, hangers, and clearances, the extra information needed for multi-trade coordination.