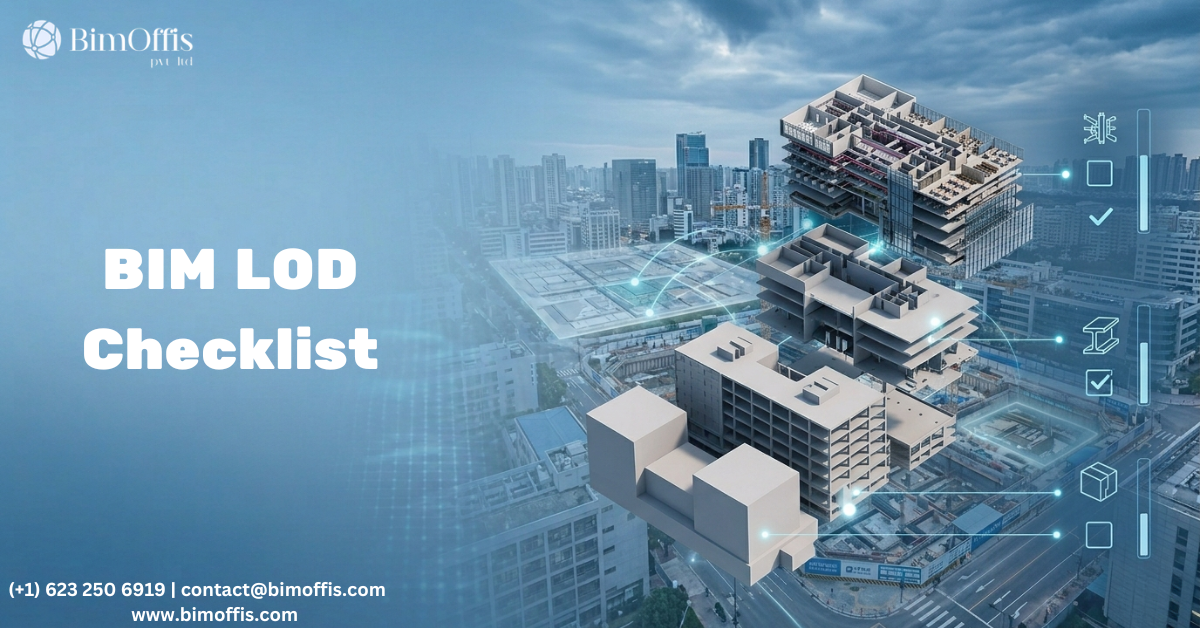
Most BIM projects don’t fall apart because of software. And honestly, they rarely fail because of the team either. Instead, they fail for a much simpler reason: no one clearly defines what the model should look like at each stage.
That’s exactly the problem a BIM LOD checklist solves.
If you’ve spent any time in the AEC world, you’ve probably heard “LOD” come up in meetings. Someone mentions it, people nod, and then the conversation moves on. However, hearing the term and actually applying it on a real project are two completely different things. Most teams stay stuck at the first step.
So, this post focuses on getting you to the second.
What LOD Actually Means (and What It Doesn’t)
LOD stands for Level of Development. Many people mistakenly call it Level of Detail, and that confusion creates real problems.
On one hand, detail refers to visuals, how polished or complex the model looks. On the other hand, development refers to reliability, how much you can trust the information for decision-making.
For example, a model can look highly polished and still be completely useless for a contractor pricing a job. In other words, that’s a detail vs. development problem.
The LOD framework, developed by the AIA and refined by BIM Forum, gives teams a shared reference point. When a BIM manager says, “we need structural steel at LOD 350 by DD,” everyone should understand what that means.
Without this clarity, teams end up with multiple interpretations, and they usually discover the mismatch too late.
The LOD Levels, Broken Down Simply
LOD 100 Early Concept
At this stage, the focus is simple: does the idea work?
Teams define building massing, rough footprint, and approximate height. No one models fine details here. Instead, the goal is to test feasibility, including site fit and rough budget alignment.
LOD 200 Schematic Design
At this point, systems begin to take shape. Walls, grids, and mechanical zones appear.
Although dimensions remain approximate, the model starts to carry meaning. As a result, teams can perform basic clash detection and begin high-level coordination.
LOD 300 Design Development / Construction Documents
This is where most people say, “the model is done.”
Here, teams define exact dimensions, confirm materials, and fix accurate locations. Consequently, contractors can price the project, and shop drawings can begin. If you’re issuing a CD set, your model should reach this level.
LOD 350 Coordination Complete
LOD 350 builds on LOD 300 by including system interactions.
For example, it shows how ductwork avoids beams or how pipe hangers connect to structure. Because of this, the model actively prevents field conflicts. More owners and GCs now require this level before construction, and for good reason.
LOD 400 Fabrication
Now, specialists take over.
Fabricators and trade contractors use this level to drive manufacturing. Elements include the precision needed for CNC cutting, prefab, and production. At this stage, the model moves directly to the shop floor.
LOD 500 As-Built
Finally, LOD 500 reflects what was actually built.
Teams verify this model in the field and update it to match reality. As a result, facility managers receive a highly valuable asset, although true LOD 500 models remain rare.
Building a Checklist That People Actually Use
This is where most teams struggle.
They download a generic LOD matrix, attach it to the BIM Execution Plan, and forget about it. But that’s not a checklist, it’s just a formality.
A useful checklist works differently.
First, it must be element-specific. Saying “the whole model should be LOD 300” means very little. Instead, define expectations clearly, such as exterior walls at LOD 300, primary HVAC at LOD 300, and secondary MEP at LOD 200.
Second, it needs clear ownership. Every item should have a responsible party, not just “MEP consultant,” but a firm or individual. Without accountability, ownership becomes meaningless.
Third, it must connect to real milestones. Tie LOD requirements directly to submittals and review gates. If a team misses LOD 350 at coordination, that’s not just a modeling issue, it’s a project issue.
Finally, it requires auditing. Someone must verify the model before moving to the next phase. Although this sounds obvious, most teams skip it. Make it a non-negotiable step.
One Last Thing
The BIM Forum LOD Specification is free, regularly updated, and highly detailed. It covers hundreds of elements. So, if you’re starting from scratch, begin there.
However, don’t just copy it. Adapt it to fit your project.
Final Thoughts
BIM is only as effective as the agreements behind it.
The technology itself is straightforward. What’s difficult, however, is aligning architects, engineers, contractors, and owners around a shared definition of “done” at every stage.
That’s exactly where a strong BIM LOD checklist makes the difference.
And ultimately, that’s how you keep projects on track.
Ready to find out what your project will cost? Find out here.
Frequently Asked Questions from Clients
What is a BIM LOD Checklist?
It’s a simple document that tells every team member what level of detail is expected in the model, at what stage, and who is responsible for it.
How many LOD levels are there?
There are 6 levels LOD 100, 200, 300, 350, 400, and 500. Each one goes deeper, from basic concept all the way to the final as-built model.
Who needs a BIM LOD Checklist?
Anyone working on a BIM project architects, engineers, contractors, and BIM managers. If you’re touching the model, you need to know what’s expected from you.
Is LOD the same as Level of Detail?
No. Level of Detail is about how the model looks. The level of Development is about how reliable the information inside the model actually is. Big difference.
What is LOD in BIM models?
LOD (Level of Development) defines the detail level of a BIM model, typically ranging from LOD 100 (basic) to LOD 400 (high detail).
When should the LOD checklist be made?
Before the project starts. Not during design, not after problems come up at the very beginning, when the BIM Execution Plan is being written.