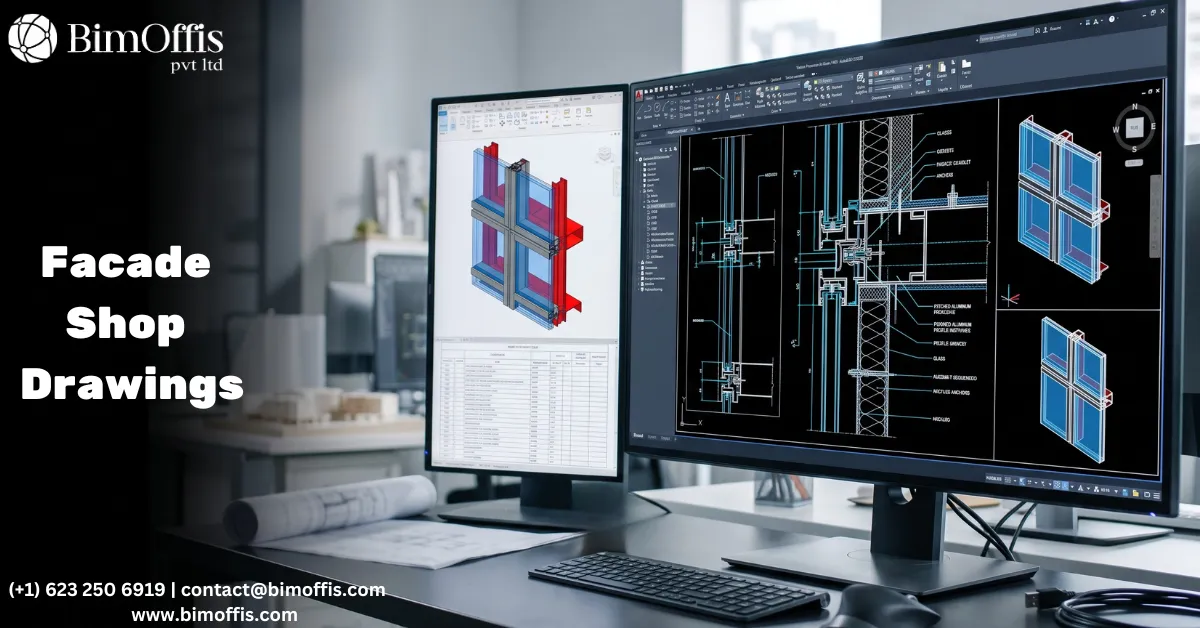
How Precast Detailing in BIM Reduces Site Errors and Improves Coordination
Precast concrete has earned a reputation as one of the fastest and most efficient construction systems available. When teams coordinate properly, that reputation is absolutely justified.
Manufacturers produce elements off-site under controlled conditions and maintain tight tolerances throughout production. Crews then transport the elements to site, lift them into position, connect them, and move the structure forward at a speed that cast-in-place concrete rarely matches. When every stage aligns correctly, precast delivers impressive efficiency.
However, precast is also one of the least forgiving construction systems when coordination breaks down.
A mistake in cast-in-place concrete can often be adjusted or corrected on site. Precast elements do not offer that flexibility. If a panel arrives with incorrect connections, missing embedments, or dimensions that do not match the structure, crews cannot quietly work around the problem. The element either returns for remanufacture, which affects both cost and schedule, or teams force it into place and create long-term structural risks.
That gap between precast’s potential and the problems caused by poor coordination is exactly where precast detailing in BIM becomes essential.
Precast Detailing Requires More Than Structural Modeling
Many project teams treat precast BIM modeling like standard structural modeling, but the two processes are very different.
Precast projects demand tighter tolerances, more precise coordination, and significantly greater detail. Every element must contain manufacturing-level information before production begins.
Detailers must position connection geometry, embedments, lifting anchors, and bearing surfaces accurately within each element. Reinforcement also needs to coordinate perfectly with embedments and connection hardware to prevent internal clashes. At the same time, every panel, beam, and column must fit correctly with surrounding elements while accounting for erection tolerances and temporary works requirements.
That level of coordination goes far beyond general structural modeling. Successful precast detailing in BIM considers manufacturing, transportation, handling, and erection from the earliest design stages instead of focusing only on structural performance or visual presentation.
Where Most Precast Errors Actually Begin
Many people assume site problems start in the factory. In reality, most errors begin much earlier during design coordination.
Modern precast manufacturers usually maintain strict quality-control procedures and produce elements with high accuracy. Most problems occur because design teams fail to coordinate information before production starts.
For example:
Structural drawings may overlook MEP penetrations through precast walls or slabs.
Architects may define finishes without coordinating interface conditions.
Engineers may place embedments without checking reinforcement congestion inside the element.
These issues often remain hidden until the elements arrive on site. By that point, the manufacturer has already cast the concrete, trucks have transported the units, and cranes are scheduled for installation.
Fixing the issue at that stage can cost many times more than resolving it during design.
Precast detailing in BIM helps teams identify these conflicts early because every discipline works within the same coordinated environment. Structural geometry, reinforcement, connection details, architectural interfaces, and MEP penetrations all exist within a single model. Instead of discovering problems during erection, teams detect clashes on-screen months earlier when solutions are faster and less expensive.
What Effective Precast BIM Detailing Looks Like
Manufacturing-Level Element Modeling
Strong precast BIM detailing reflects how manufacturers actually build each element.
Instead of using symbolic geometry or simplified representations, detailers create accurate precast components with real dimensions, connection hardware, embedments, lifting points, and reinforcement layouts.
This level of detail allows the BIM model to support fabrication directly. Teams can generate shop drawings from the model rather than drafting them separately. Dimensions remain consistent because they come from the same coordinated source instead of multiple disconnected drawing packages.
As a result, the gap between design intent and manufactured reality becomes much smaller.
Coordinated Connection Geometry
Connections create some of the most complex coordination challenges in precast construction.
Every interface involves bearing lengths, grout gaps, tolerances, and cast-in hardware that must align perfectly across multiple elements.
With BIM-based precast detailing, both sides of the connection exist within the same model environment. Detailers can verify the relationship between beam corbels, plates, anchors, and supporting elements before production begins.
That process allows teams to solve connection problems during design instead of discovering them during erection while crews wait beside an active crane.
MEP Penetration Coordination Before Casting
MEP coordination plays a major role in precast success, yet many projects underestimate its importance.
Precast walls and slabs regularly require sleeves, openings, conduits, and duct penetrations. Teams must position these penetrations correctly before casting because modifying precast concrete afterward is expensive and sometimes structurally unsafe.
Precast detailing in BIM allows MEP systems and precast elements to coordinate within the same model. Detailers can immediately identify clashes between penetrations, reinforcement, and connection hardware.
Resolving those issues during design costs very little compared to correcting them after installation.
Erection Sequence Planning
Successful precast coordination involves more than making individual elements fit together. Teams also need to verify how the structure behaves throughout the erection sequence.
Some connections work perfectly once the structure reaches its final condition but create conflicts during temporary erection stages.
BIM helps erection engineers simulate each construction stage before crews mobilize to site. Teams can review temporary conditions, crane access, sequence-specific clashes, and temporary works requirements directly within the model.
This proactive planning reduces delays, minimizes uncertainty, and improves installation efficiency once erection begins.
Benefits Beyond Error Reduction
Accurate precast BIM detailing improves far more than coordination quality.
Manufacturers can produce shop drawings faster because the model already contains fabrication-level information. Design revisions also become easier to manage since updates automatically flow through the coordinated model instead of requiring manual changes across separate drawings.
Site teams benefit as well. Installation crews gain confidence when they know connection details, dimensions, and embedments match the manufactured elements exactly. That confidence reduces RFIs, minimizes site confusion, and helps maintain the construction schedule.
Most importantly, teams solve problems during design rather than during erection when delays become expensive.
The Bottom Line
Precast detailing in BIM reduces site errors because it shifts coordination to the stage where resolving issues is fastest, cheapest, and most effective, during design.
When teams coordinate properly, the elements arriving on site fit correctly, connect properly, and contain the required penetrations and embedments in the right locations. Erection crews work from sequences that engineers already tested and validated in the model.
As a result, projects move forward with fewer surprises, fewer delays, and significantly less rework.
That is the real value of precast detailing in BIM. In a construction system where even small coordination mistakes can create major consequences, getting the details right from the beginning is not optional. It is essential.
Ready to find out what your project will cost? Contact us today to learn more.
Frequently Asked Questions from Clients
What is precast detailing in BIM?
Modeling individual precast elements at manufacture-ready detail, connections, embedments, reinforcement, and penetrations all coordinated in one model before anything reaches the factory.
Why is precast more sensitive to errors than other systems?
You cannot fix a precast element on site. Wrong dimensions or missing embedments mean remanufacture or structural compromise. Either way, it is expensive and slow.
Where do most precast site errors actually come from?
Not the factory. They come from coordination failures during design, missed penetrations, unchecked connections, interface details nobody resolved upstream.
How does BIM catch errors before manufacture?
Everything sits in one model. Structural geometry, MEP penetrations, reinforcement, and connections all coordinate together. Conflicts show up on screen, not on site.
Can BIM help with erection sequence planning?
Yes. The model shows the structure at each erection stage. Sequence conflicts surface before the crane arrives, not after.
What is the biggest benefit on site?
Elements arrive fitting correctly. Connections work as designed. The program holds because the problems were solved during design, not discovered during installation.