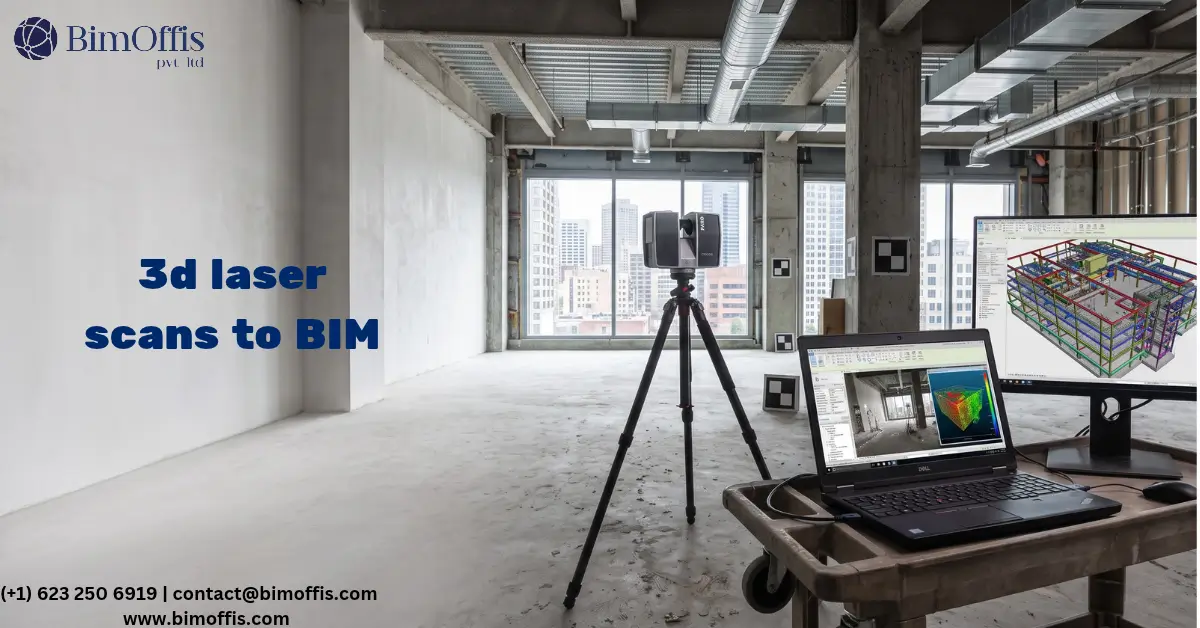
3D laser scans to BIM conversion requires more than a laser scanner and a copy of Revit. Instead, the process involves several software tools, and each one plays a specific role. Together, these tools transform raw scan data into an intelligent, accurate BIM model. Therefore, anyone commissioning or delivering scan to BIM services needs three things: the right tools, a clear understanding of what each tool does, and awareness that expertise matters more than software.
This guide walks through the software landscape for 3D laser scans to BIM conversion. First, it explains what each major tool actually does. Then, you will also get the information you need to evaluate a workflow, not just a software list.
The Three Stages That Need Different Software
Why One Tool Does Not Do Everything
Converting 3D laser scans to BIM involves three distinct stages, and each stage needs different software. To begin, scan registration is the first stage, and it combines raw point clouds from multiple scanner positions into one unified dataset. Next, point cloud processing and management comes in, cleaning the registered data and preparing it for modeling. Finally, BIM modeling from the point cloud is the third stage, where the team builds intelligent BIM elements using the point cloud as a reference.
In most cases, providers use different software for each stage. As a result, registration and processing tools rarely match the tools best suited for BIM modeling. Knowing this helps you evaluate a provider’s workflow, rather than just asking what software they use.
Stage One: Scan Registration Software
Faro Scene
Faro Scene is one of the most widely used registration and processing tools in the scan to BIM industry. Specifically, the software works natively with scans from Faro laser scanners, among the most common scanners in the professional market.
In practice, Scene automates a significant portion of the registration process. For instance, the tool identifies common geometry between adjacent scan positions and aligns them into a unified point cloud. In addition, it handles initial processing, including removing unwanted scan data and applying colour from the scanner’s photographic captures.
Overall, Faro Scene outputs a registered, processed point cloud, ready for export into most BIM environments. For teams working with Faro hardware, therefore, Scene is typically the fastest path from raw scan data to a processed point cloud.
Leica Cyclone
Leica Cyclone is the registration and processing environment built for Leica laser scanners, another widely used hardware platform. Overall, Cyclone offers comprehensive registration, processing, and management capabilities for large point cloud datasets.
Within this ecosystem, three modules handle different tasks: Cyclone Register combines individual scan positions into unified point clouds, Cyclone Process handles cleaning and organisation, and Cyclone Publisher prepares data for sharing with the wider project team. Additionally, Leica’s Cyclone ecosystem connects to their Reality Capture platform, which supports web-based viewing and collaboration.
Trimble RealWorks
Similarly, Trimble RealWorks serves the same registration and processing function for scans from Trimble hardware. The platform handles registration, filtering, and processing of point cloud data, and it supports export to formats compatible with major BIM authoring tools.
Autodesk ReCap
By contrast, Autodesk ReCap sits in a slightly different position in the scan to BIM software ecosystem. Rather than acting as a primary registration tool, ReCap mainly manages and prepares point clouds. It also integrates closely with Revit, Autodesk’s BIM authoring platform.
Essentially, ReCap imports point clouds in many formats and converts them into the RCP and RCS files that Revit uses natively. Beyond that, the tool cleans, segments, and manages point cloud data before and during modeling. For Revit-based teams, consequently, ReCap is often the last processing step before modeling starts, even when registration happened in Faro Scene, Cyclone, or another platform.
Stage Two: BIM Modeling Software
Revit
Revit dominates BIM authoring for 3D laser scans to BIM projects in the USA and most global markets. Specifically, the software natively supports point cloud data through the RCP and RCS formats ReCap produces. As a result, modelers can view the point cloud directly inside Revit and build BIM elements from it.
Inside Revit, the point cloud appears as a reference layer. From there, modelers can section through it, rotate it, and examine it from any viewpoint. Additionally, they can isolate areas with section boxes, work at any scale, and build elements with the point cloud as a visible guide.
However, model quality depends heavily on the skill of the modeler. In other words, tracing the point cloud outline is not enough to build a wall that truly matches the scan. Instead, a modeler must select the correct wall type and layer structure, position the wall accurately, and manage the gap between modeled geometry and the actual scan data. Since real buildings often carry slight irregularities from construction variation, this last step is harder than it sounds.
Likewise, MEP elements need the same rigor. Here, correct system classifications and proper connector types matter far more than geometry placed loosely near the pipes and ducts a scan shows. Ultimately, deep Revit expertise is what separates a usable model from one that only looks correct.
ArchiCAD
Meanwhile, ArchiCAD is a BIM authoring platform with a strong user base in European markets and growing adoption in the USA. It supports point cloud import and offers a modeling environment for building elements from scan data.
For teams working in ArchiCAD, the workflow is comparable. Regardless of platform, the core principle stays the same: the modeler treats the point cloud as a reference and builds intelligent BIM elements from it. Only the specific tools differ between platforms.
Stage Three: Quality Checking and Coordination
Navisworks
Unlike the previous tools, Navisworks is not a modeling tool. Instead, it plays a critical role in scan to BIM as a quality checking and coordination platform.
Once the team builds the BIM model, Navisworks lets them view the model and the point cloud side by side. Consequently, this comparison matters for quality checking, since it makes discrepancies between the model and the scan data immediately visible. For example, a misaligned wall shows up clearly against the underlying scan.
Beyond quality checking, Navisworks also works as the primary clash detection platform for coordinating an as-existing BIM model with new design work on renovation and retrofit projects. So, when the scan to BIM model and the new design model meet inside Navisworks, clash detection catches every conflict before installation starts.
CloudCompare
On the other hand, CloudCompare is an open-source point cloud processing tool. Typically, teams use it mainly for quality checking and analysis work that commercial platforms handle less efficiently. Because of this, the tool allows detailed comparison between point cloud data and BIM model geometry, supporting rigorous accuracy verification.
For projects with strict tolerance requirements, therefore, CloudCompare provides the analytical tools to measure and document deviation between the model and the point cloud at any element or area.
What Matters More Than Software Choice
The Expertise of the Team Using the Tools
Here is the honest truth about software for converting 3D laser scans to BIM: the gap between a genuinely accurate model and one that only looks right rarely comes from software choice. Instead, it comes from the expertise of the people using the tools.
For example, a skilled modeler using Revit and ReCap will always outperform an inexperienced modeler with the same tools. After all, software cannot decide how to handle irregular existing geometry, how to classify elements correctly, how to manage LOD requirements, or how to document discrepancies instead of modeling them away. These are judgment calls, and they demand real expertise.
So, when evaluating scan to BIM providers, ask about their software stack as useful background. Beyond that, ask to see models from similar building types, since examples reveal more than a tool list ever will. Finally, ask about the quality checking process that verifies accuracy before delivery.
The Bottom Line
Ultimately, the best software for converting 3D laser scans to BIM is whatever combination your team, or your provider, can use with genuine expertise. That combination should produce models that accurately represent the real building and serve the workflows the project requires.
In the USA market, a common professional workflow looks like this: Faro Scene or Leica Cyclone for registration and processing, Autodesk ReCap for preparation, Revit for modeling, and Navisworks for quality checking and coordination. In the hands of an experienced team, it works well.
In short, the software is only a tool. Expertise is what produces a model worth having.
Turn laser scan data into accurate BIM models with professional Scan to BIM services for better renovation planning and project coordination.
Frequently Asked Questions from Clients
What software is used for 3D laser scan to BIM conversion?
Common software includes Faro Scene, Leica Cyclone, Trimble RealWorks, Autodesk ReCap, Revit, Navisworks, and CloudCompare.
What is Autodesk ReCap used for in Scan to BIM?
Autodesk ReCap processes and manages point clouds and prepares RCP and RCS files for use in Revit.
Which BIM software is commonly used for Scan to BIM modeling?
Revit is widely used to create BIM models from point cloud data, while ArchiCAD is another supported BIM authoring platform.
How does Navisworks help in Scan to BIM projects?
Navisworks helps compare BIM models with point clouds and supports quality checking and clash detection.
Is software more important than expertise in Scan to BIM?
No, the accuracy and usefulness of the final BIM model depend heavily on the expertise of the team using the software.
What is the typical software workflow for Scan to BIM?
A common workflow uses Faro Scene or Leica Cyclone for registration, ReCap for preparation, Revit for modeling, and Navisworks for quality checking.